

Would you like to slow down your progress and make mistakes that led Skrillex to lose all his samples and projects? If not, read my advice that will save you time, energy, and (most importantly) money.
Choose a DAW that matches your purpose
One of the first choices you will have to make when starting out with music production is the software you will use. Your DAW (that is Digital Audio Workstation) is a software you will spend almost 100% of your studio time in.
You may consider the software price or opinions on what DAW has most features. Personally, I would also consider this angle:
While all most popular DAWs give you equal chance of producing great music, each DAW will have a different purpose and fan base. Choose one that aligns most with what you want to do.
Let's overview best-selling options and figure out for whom a specific DAW could be:
-
Ableton Live is a top choice for EDM artists. It's especially good for techno music, where tracks are built around grooves and patterns. It offers seamless integration with many hardware controllers to make music production more fun. Ableton's Session View lets you mix and match patterns on the go, which makes live performances (creating music real-time) incredibly easy. It's a bit expensive software (the Suite version with all features costs 599 Euros), but you will not have problems with techno production tutorials. YouTube has thousands of tutorials (including mine) that will teach you making techno with Ableton Live.

-
FL Studio (around 489 Euros for the All Plugins Edition) has most reputation among hip-hop/trap producers. It is said that FL Studio is easier to learn than Ableton Live, although that's a highly subjective matter. As someone who gives techno music production lessons in both Ableton and FL Studio, I can confirm both DAWs have different workflows. But in my opinion, most complaints about the learning curve come from people making a switch from one DAW to another. FL Studio is known for the great piano roll - a part of a DAW you use to write melodies. Unlike Ableton, FL Studio comes with lifetime free updates which is very convincing for artists on a tighter budget. If you plan to use FL Studio for electronic music though, be warned that you will not find as many tutorials for certain genres like drum & bass or techno as for Ableton Live.
-
Logic Pro (199 USD on App Store) is a DAW different from both Ableton and FL Studio. The first difference is that Logic Pro is around twice as cheaper than both DAWs I mentioned above. The lower price (unfortunately) comes with a few trade-offs. Logic Pro is a DAW only for Mac computers, while FL Studio and Ableton run on both Mac and Windows. It supports only a single format of audio plugins that's native for Mac computers - the Audio Unit format. No VST format compatibility means you won't be able to use many freeware third-party plugins you could use in both FL Studio and Ableton Live to fuel your creativity. On the other hand, such closed environment means that Logic Pro is lighting fast and reliable, while Ableton Live can crash once every few months. Some Logic Pro features are basic compared to either Ableton Live or FL Studio (for example, modulations in Logic Pro aren't as flexible), so it won't be the best software if you want to push your sound experiments to the limit.
I recommend to play around with a trial version of both FL Studio and Ableton Live. Watch a few tutorials on how to use both DAWs. See if there are enough tutorials for your genre, and make your decision on which software you will use.
While you can switch to a different DAW after a few years (like I did when hopping from FL Studio to Ableton), it's better to make an informed decision right at the beginning before you spend any money.
Learn your shortcuts
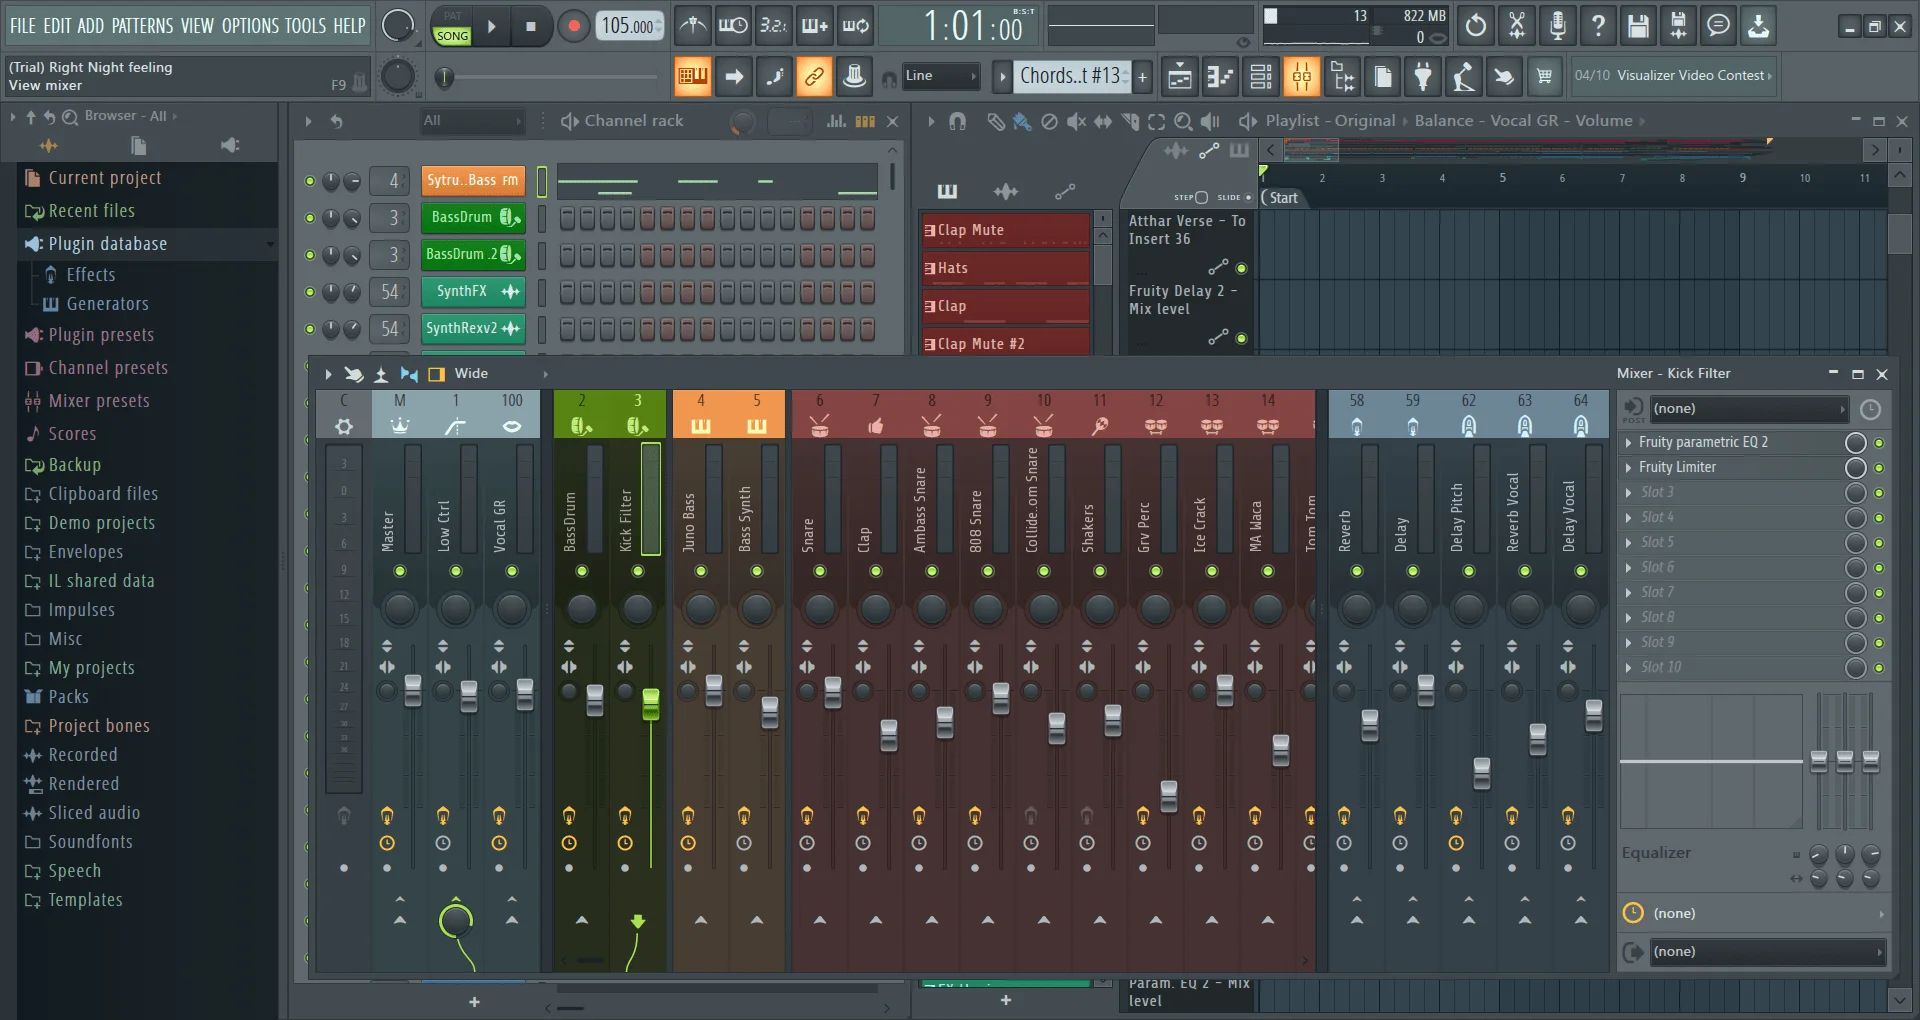
Every DAW you will come across is packed with modules, windows, effects and features. For example, nearly every FL Studio feature is in a separate window, which makes navigation difficult if you use only your mouse:
Finding the right option or switching between different modules can't take your attention away from producing music. Otherwise, you will lose focus and your studio sessions will not be effective. One of the best things you can do to improve your workflow is to learn keyboard shortcuts that wait for you in the manual to be discovered:
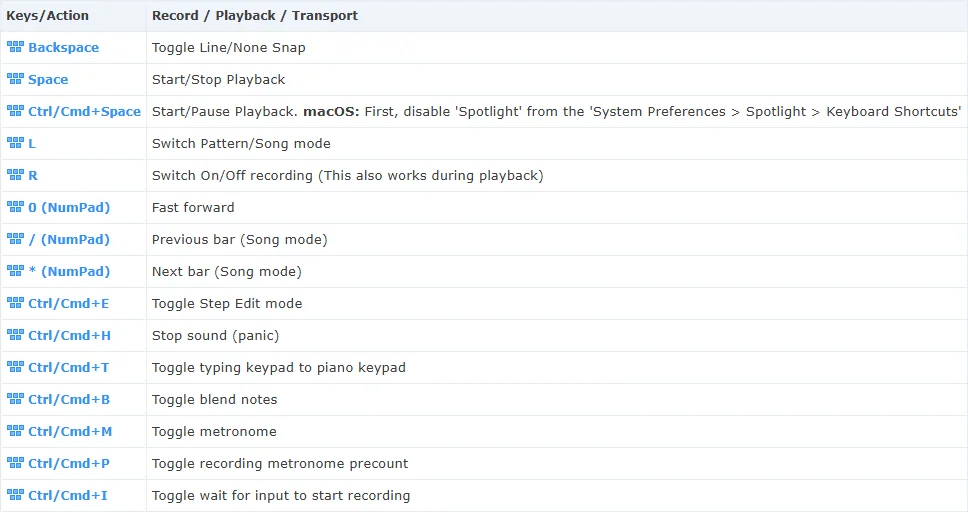
My few favorite FL Studio shortcuts are following - you can start your learning with trying them out to immediately work more effectively:
- LMB + RMB on any knob or fader allows for fine control, unlike usual left mouse button dragging.
- Using 1..9 keys on Channel Rack turns on/off first nine channels. Additionally, hold down the CTRL button to solo the channel instead of turning it on/off.
- SHIFT + Left/Right arrow moves any selected Playlist clip. Additionally, holding down the ALT key allows for finer control.
- Ctrl + Enter creates a loop in the Playlist around the clip(s) you select.
- L key switches between playing a single pattern and the whole arrangement in the Playlist.
While using mouse is simple and intuitive, every single operation that you can make with a keyboard shortcut will be always a second or two faster. Over time, you will be saving minutes and even hours that you can spend on doing the creative work.
Read software manuals - seriously!
Did you know that by default, when you drag any sound into Ableton's Arrangement View, a small fade-in and fade-out is added? This can be detrimental to any percussion sample's transient:
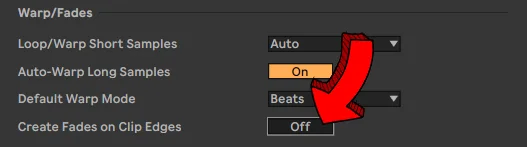
If you are aware of that, you might now either ignore that (big mistake), or use your mouse to manually remove the fades every time. However, a short look into Ableton's manual shows that automatic fades can be disabled with a single click in the Preferences window:
What you have just learned is one of hundreds tricks most producers don't even know about. While you can occasionally learn something new when watching random YouTube tutorials or reading Reddit discussions, nothing beats the ocean of workflow tips that are inside of each DAW and plugin manual.
In the beginning of music production journey, it's crucial to get familiar with the software you will produce your tracks in.
While it's tempting to dive into making music right away, hitting a roadblock every few minutes can be frustrating. Turning over to either Google or Chat GPT slows down your workflow dramatically.
My advice is to reserve 30 minutes every day to read through software manuals and try out new knowledge. Combine that with shortcuts practice, and you will be rapidly getting those dopamine hits from becoming more proficient with DAW.
Quantity first, quality later
The first few weeks (or even months) of learning music production focus around you getting familiar with a DAW.
It's a perfect opportunity to learn good habits (like using shortcuts) right off the bat, and doing things over and over again is a great way to build these habits.
As soon as you learn how to import and sequence samples, your head will likely explode from the amount of ideas. Don't hesitate with trying to convert each of them into a finished track! This will go hand in hand perfectly with learning your way around the software.
Music production is a skill that takes years of practice before you will proudly say you're not a beginner.
At the moment of writing this article, I have around 12 years of music production experience, but I still wouldn't describe myself as a top-tier producer. Trying to nail your track right at the first try is simply an unrealistic idea. Obsessing over little details instead of figuring out how to work in a DAW swiftly will drive you crazy.
Your beautiful ideas you recreate on your computer won't disappear - you can always re-work your first projects once you gain some experience. I even recommend writing a short list of things you would like to change or mistakes you want to fix in a project once you finish it. That way, you can revisit it after some time and not lose a track of how to improve your old track.
You can also carry over that knowledge onto your next project that will sound much better than your previous one.
Backup your projects before it's too late
Skrillex, one of the biggest icons in electronic music production scene was touring in Milan when someone broke into his hotel room. Not only he lost his 2 laptops and 2 external hard drives - he also lost many tracks and projects his fans will never discover.
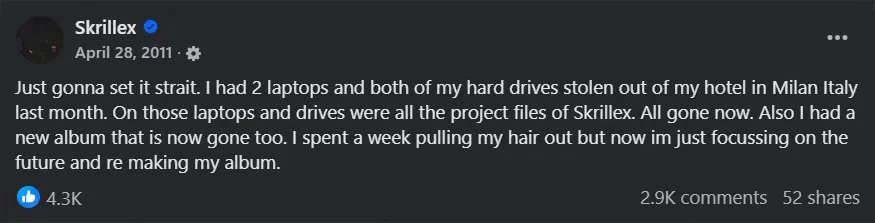
This happened in 2011, but similar incidents can strike you even today - while it's unlikely someone will steal your computer when you're sleeping, losing all your data through an accident is not impossible.
Fortunately, making backups nowadays requires little effort and just a bit of money. In my opinion, it's safest to have 2 separate backups in different places.
I have to admit I've learned it the hard way - a year ago, my laptop suddenly burned and I lost most of my Ableton and FL Studio projects, not to mention YouTube tutorials and Premiere Pro projects.
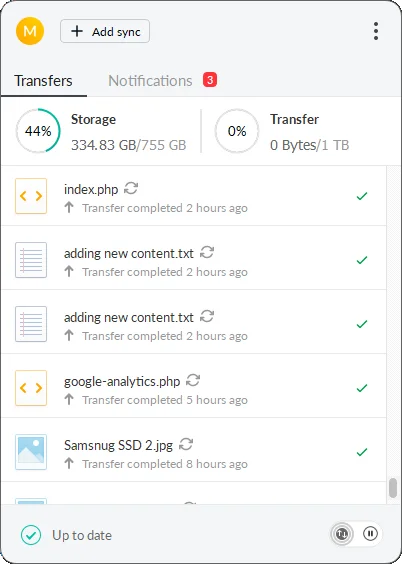
Since that accident, I signed up for cloud storage with MEGA. It's not any affiliation - based on my research, MEGA gives me the best value for money, as for just 5 euros per month, I have 750 gigabytes of cloud storage with MEGAsync desktop app that automatically synchronizes my SSD content with the cloud. Once I configured it, I don't have to think about anything.
My second backup is an external SSD that I plug into my computer every month to transfer my most recent and important work. You don't need anything expensive - my Samsung Portable SSD T5 500GB was bought over 5 years ago and is still very reliable (as long as I don't forget about transferring data).

Ditch hundreds of plugins
Right after looking at my backup options you could say: "500 gigabytes is nothing - there's no way I can fit all my tools and plugins here".
Let's address the elephant in the room - it's incredibly easy to download hundreds of extra VST effects. Each installed bundle or tool gives you that rush, making you think that now you will start churning out dancefloor smashers.
This approach creates 2 problems that are difficult to face. The first one is thinking that it's the plugins that make a good track, not the producer.
And here we could blame plugin companies that advertise their every new plugin as the "revolution" in music production. They try to make you believe that without their tools your mixes won't sound decent. Or that only their reverb will give your track that immense depth.
It's true that professional plugins from Waves or Universal Audio are more sophisticated and may give your sound a specific edge, but unless you have spent the first few years learning the basics, you won't take the advantage of these expensive tools.
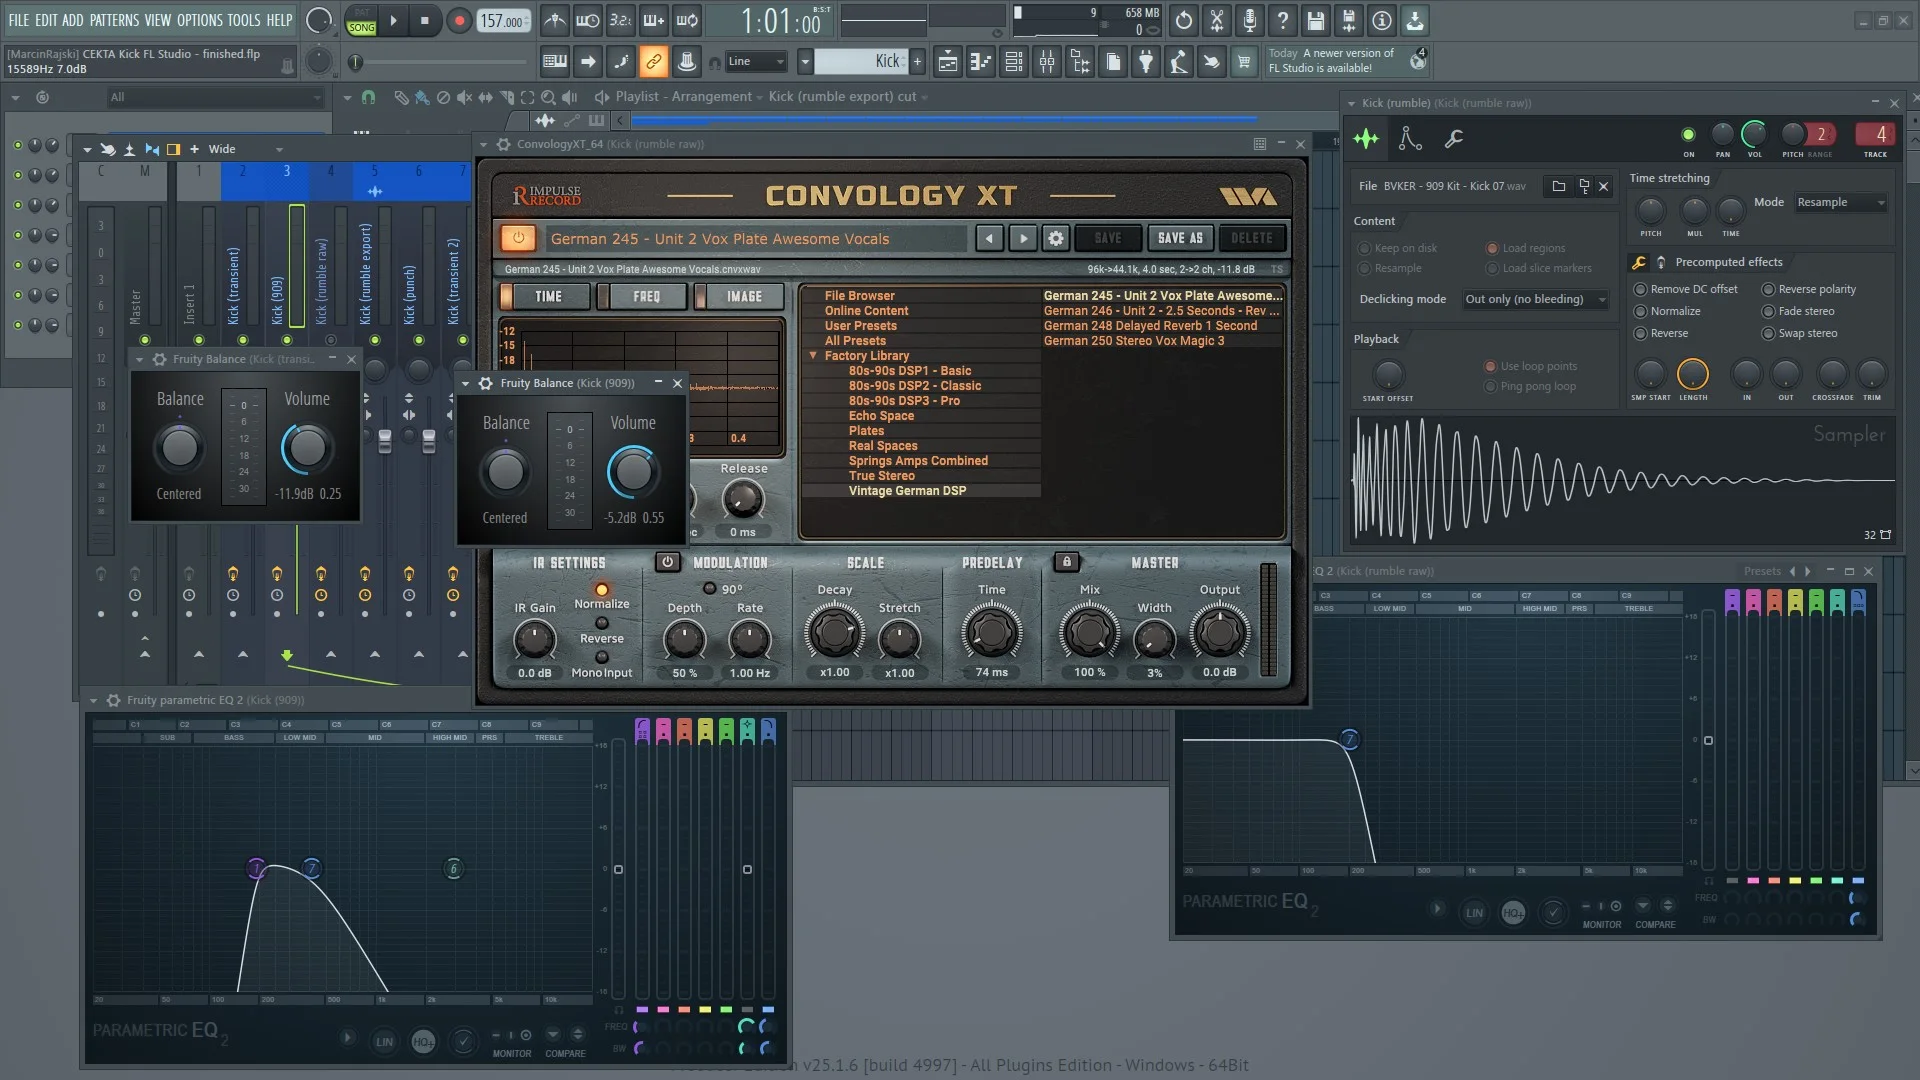
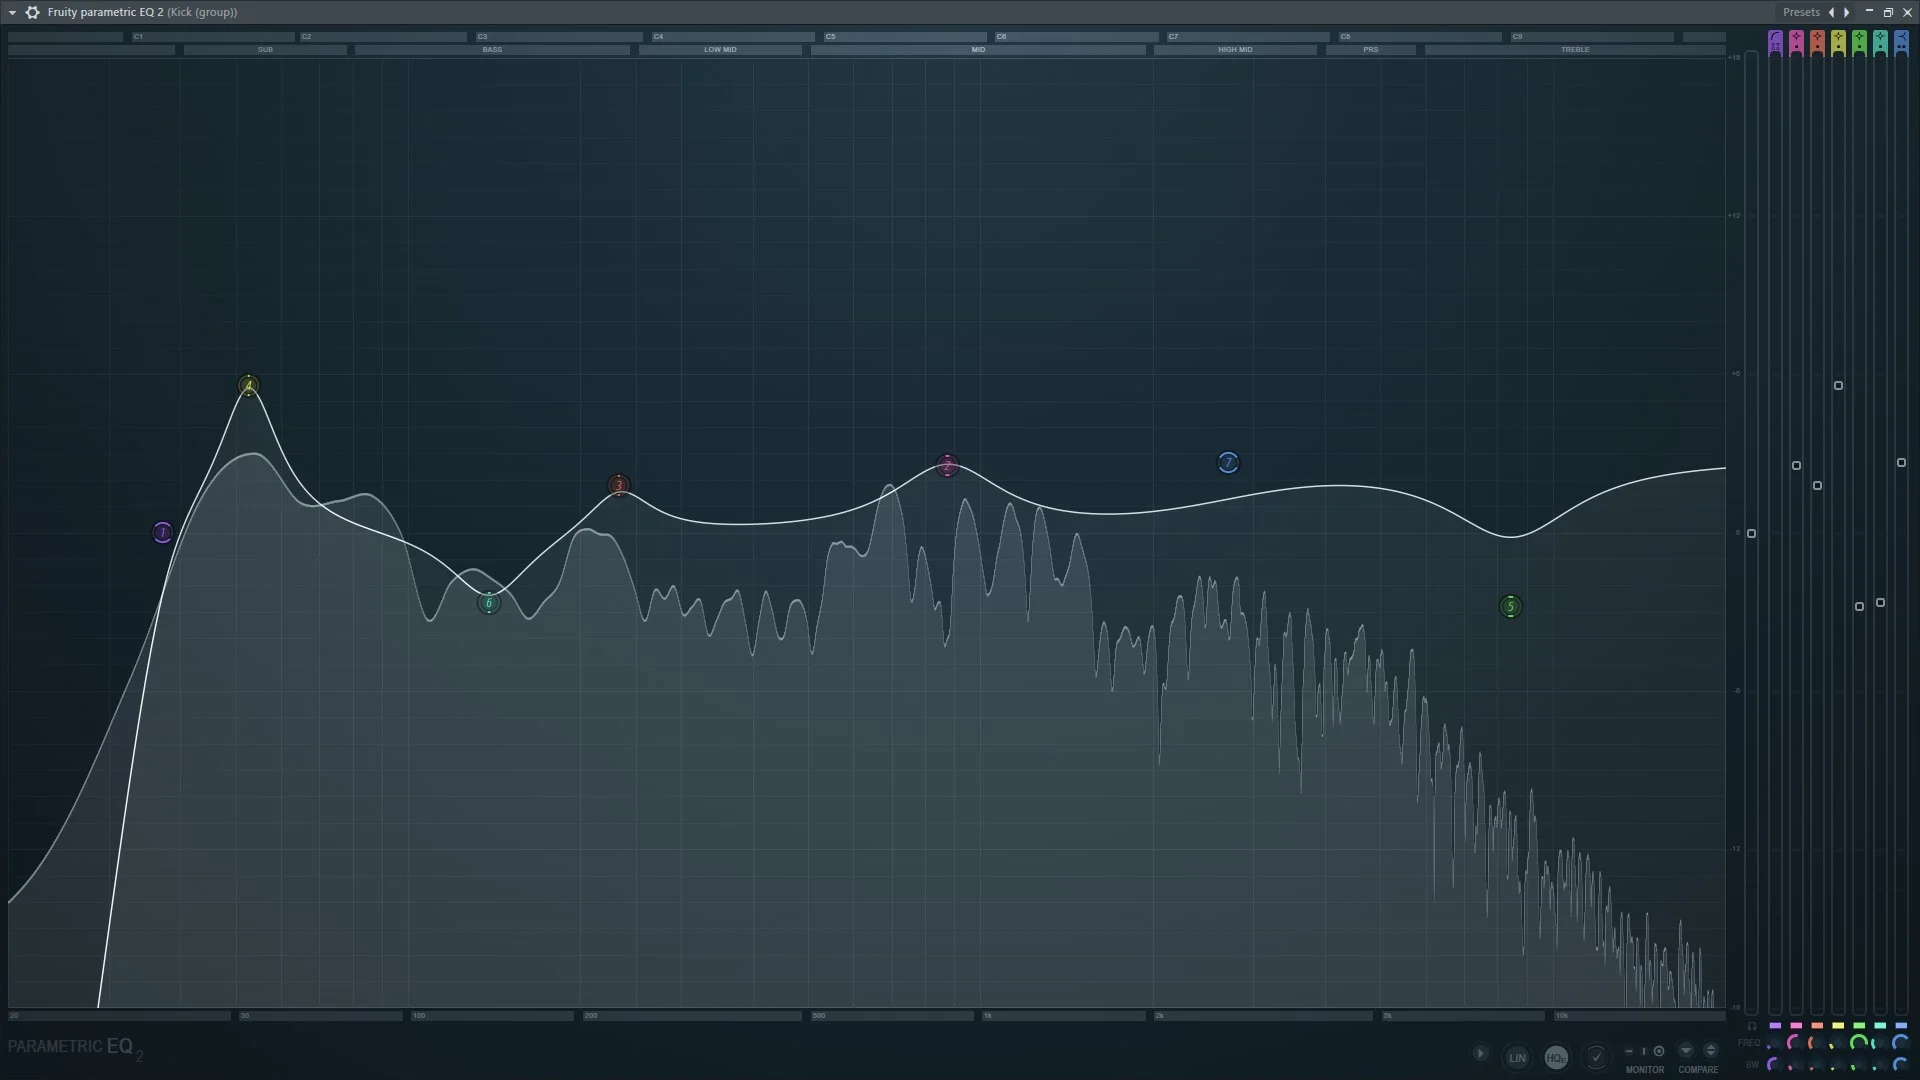
As an example, let's compare FL Studio's stock Fruity Parametric EQ 2 (that comes with no cost):
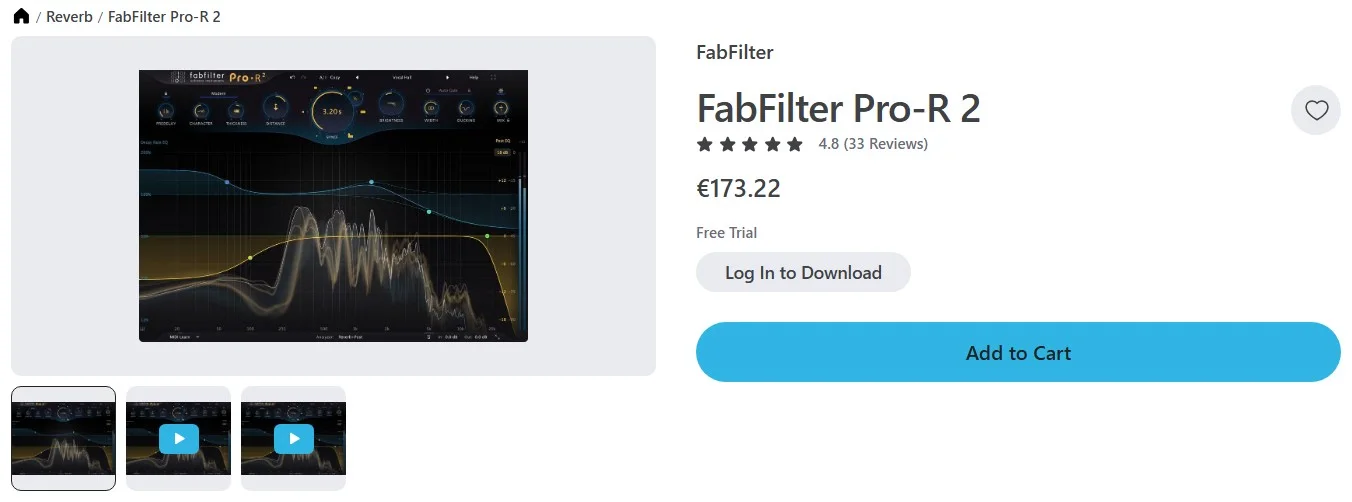
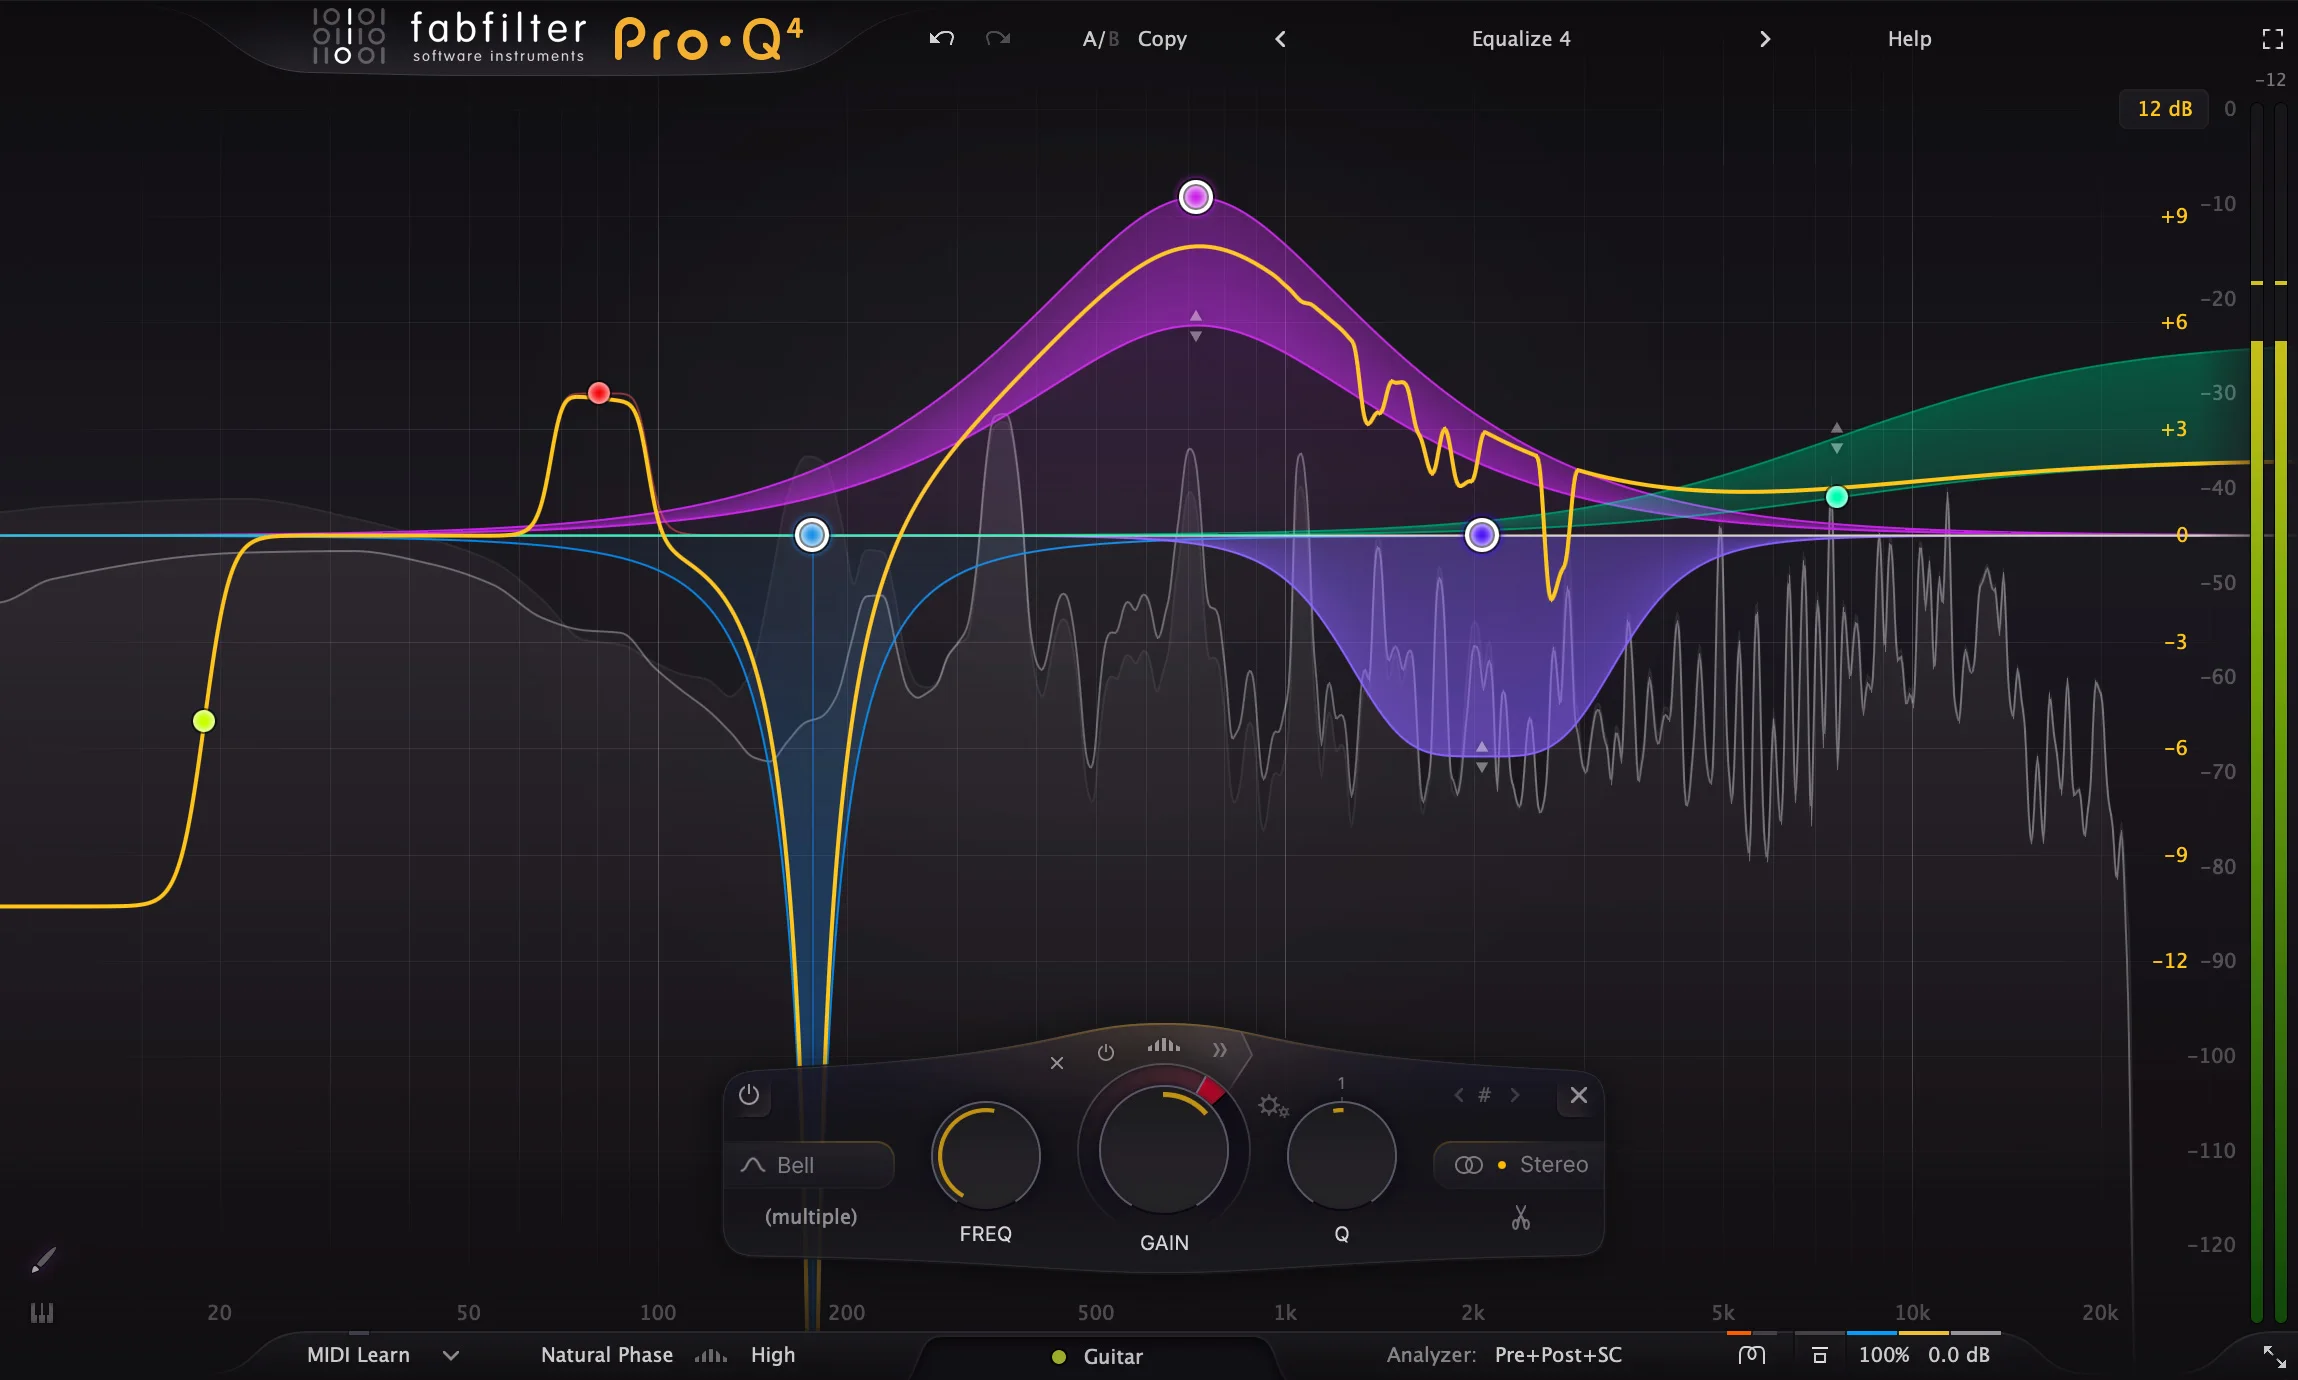
to FabFilter Pro-Q 4 equalizer (173 euros on Plugin Boutique) that is one of the best third-party equalizers:
Both equalizers are parametric, meaning you have total freedom in:
- Deciding what frequency gets most treatment (cutoff frequency)
- By how many decibels you boost or attenuate that frequency (gain control)
- How many frequencies around the cutoff frequency get altered as well (filter bandwidth (Q))
And this is the fundamental functionality of an equalizer. 80% of the equalizer's effect (now we could think of Pareto principle) comes from deciding what frequencies you boost or cut and by how many decibels.
Both equalizers have a few extra features, but they either have specific, rare use cases or don't directly influence the sound quality:
-
Frequency spectrum analyzer: shows the frequency range a sound takes, along with volume level of each frequency. It can be helpful when identifying annoying resonances in a sound, but a trained ear can identify them without it.
Plus, relying on the frequency spectrum too much is counter-intuitive - what is most important is what does a track sound like and not what does it look like.
-
Linear phase equalization: helps reducing phase shifting that is a side effect of equalization. You can think of phase shifting as delaying by a very small amount frequencies affected by an equalizer.
Most of the times, phase shifts won't change the sound in any audible way. We would need to either equalize synchronized tracks that share nearly identical signal (think of a drum kit recorded by multiple microphones, which is unlikely in electronic music) or use extreme equalization settings that aren't useful in 90% of the cases.
Linear phase equalization is not perfect though - while this form of EQ reduces phase shifting, it may introduce another artifact called pre-ringing that is devastating for percussion sounds.
-
Non-standard filter shapes: usually equalizers come with a few filter types that have certain purpose.
For example, a high-pass filter removes low frequencies which helps keeping the low-end of your track solid.
A peak filter precisely targets narrow frequency ranges, being a perfect tool for removing resonances.
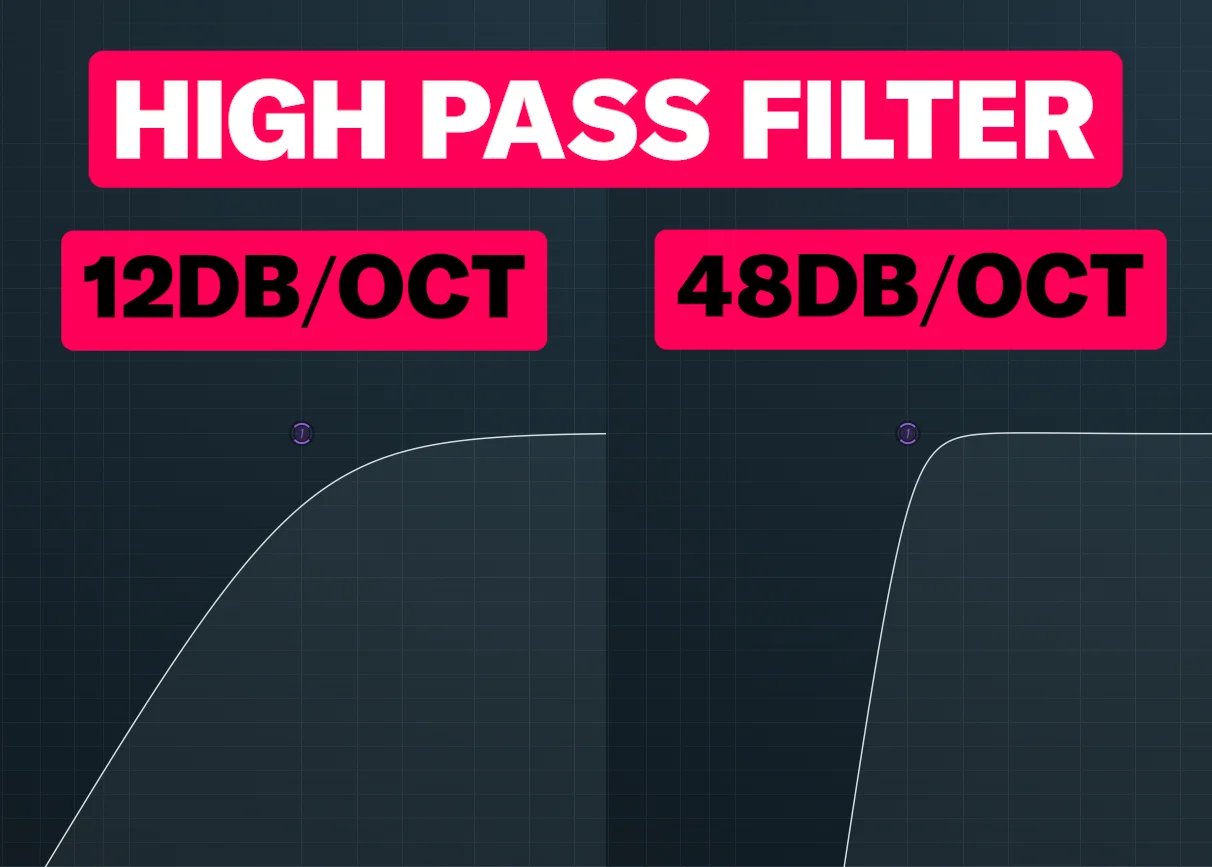
Some plugins on top of having different filter types also provide a few variations of each filter type. What's a standard is a few variations of both low and high-pass filters, where we can control the slope of a filter:
But some equalizers (including Fruity Parametric EQ 2) come with extra non-standard filter shapes that you won't meet in most plugins. For example, look at how different a peak filter can look like:
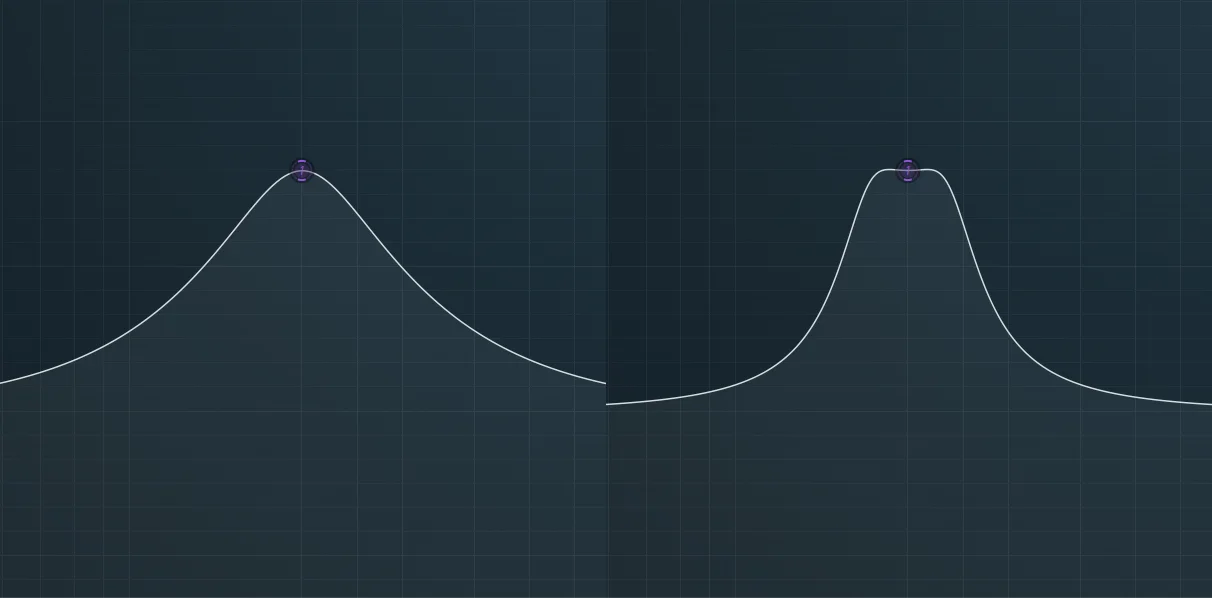
These shape variations however bring a tiny difference to the sound. Being able to control the high and low-pass filter's slope and the filter bandwidth (which is a standard across nearly all equalizers) is enough for 90% of the work.
Paid equalizers often just develop these features further - features that you won't need for most of the time and won't take advantage of unless you have enough knowledge and experience.
FabFilter Pro-Q 4 offers a few more frequency spectrum analyzer options, extra linear phase modes and larger variety of non-standard filter types. You also get functions like built-in mid/side equalization, but - again - as a beginner, you don't need to bother with these.
I could show you similar examples with distortion or compression plugins. What I want to point out is that during the first few years, stock plugins in your DAW are the only thing you need.
Unless you know how and when to use each stock plugin to get a desired result, you won't benefit from their expensive and "professional" counterparts.
The second problem with having numerous plugins is simpler - using dozens of them takes away precious time.
Instead of actually producing music, you either waste time downloading and installing the plugins or deciding, what effect you should pick now.
This is a cardinal sin of music production that I see many beginner producers who come to my techno production lessons doing.
The first thing I teach are the concepts and proven techniques that can be done in any plugin, whether it's a stock, freeware or paid one. Often that's enough for producers to start hear their tracks becoming better, regardless of plugins they use.
However, if you need a definitive proof that producing great music doesn't require expensive effects but knowledge, I will let you listen to one of my industrial techno tracks I produced with stock Ableton plugins and samples:

The project of this track can be bought here, so you can learn best production techniques on your own by studying the raw Ableton project file.


